When it comes to enjoying a day out on the water, having a rod holder on your boat or kayak can greatly enhance your fishing experience. Not only does it provide a convenient and secure place to store your fishing rod, but it also allows you to keep your hands free while waiting for a bite. In this article, we will guide you through the process of installing a rod holder on your boat or kayak, ensuring that it is done properly and securely.
Choosing the Right Rod Holder
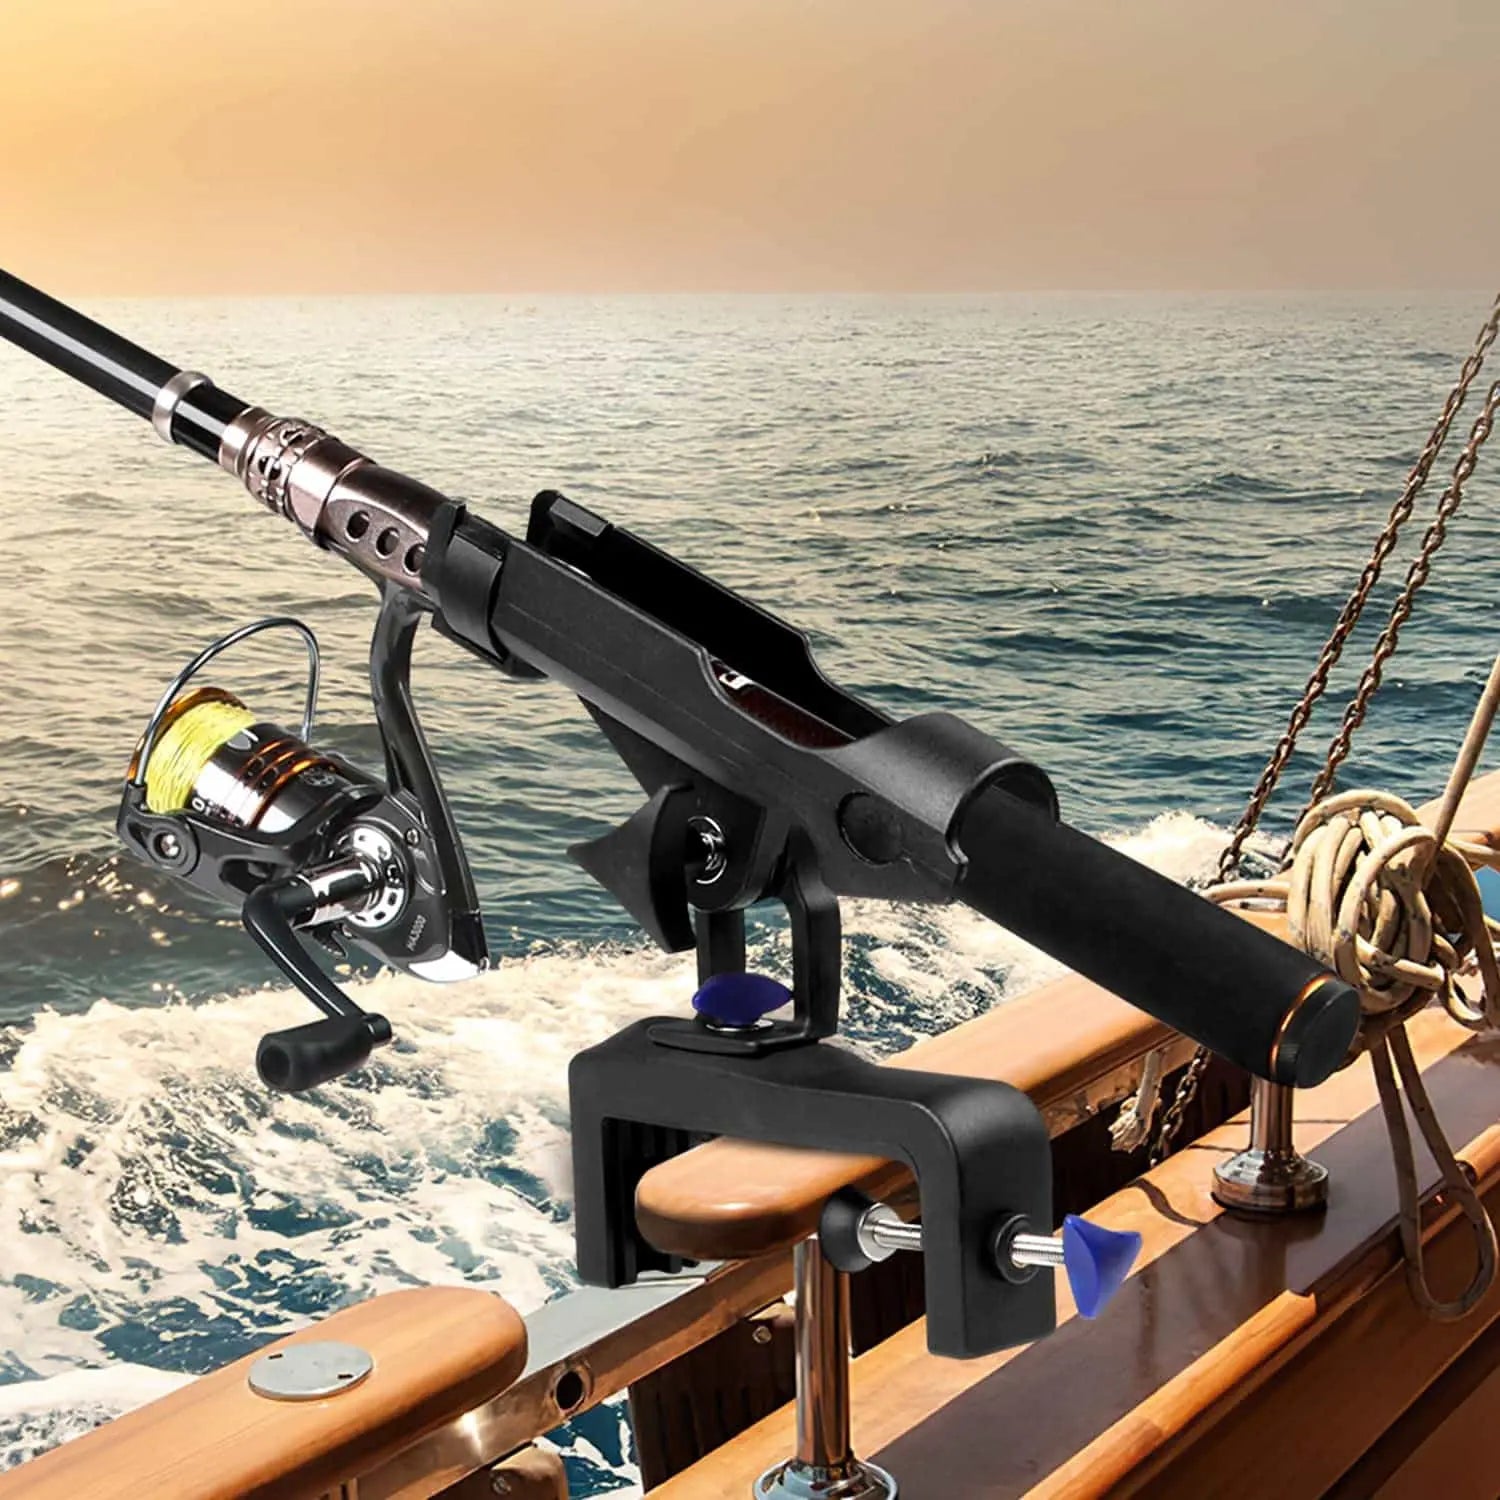
Before you begin the installation process, it is important to choose the right rod holder for your boat or kayak. There are various types of rod holders available, including flush mount, clamp-on, and adjustable rod holders. Consider factors such as the type of fishing you will be doing, the size of your fishing rod, and the layout of your boat or kayak. This will help you select a rod holder that best suits your needs.
Once you have chosen the right rod holder, it's time to move on to the installation process.
Preparing for Installation
The first step in installing a rod holder is to determine the ideal location for it on your boat or kayak. Consider factors such as accessibility, stability, and the type of fishing you will be doing. You want to choose a location that is easily reachable and provides a secure base for your rod holder.
Next, gather all the necessary tools and materials for the installation. This may include a drill, screws, a screwdriver, a measuring tape, and a pencil. Make sure you have everything you need before you begin.
Installing the Rod Holder
Now that you have chosen the location and gathered the necessary tools, it's time to install the rod holder. Start by marking the position of the rod holder on your boat or kayak using a pencil and a measuring tape. Double-check the measurements to ensure accuracy.
Once you have marked the position, use a drill to create pilot holes for the screws. This will prevent the wood or fiberglass from splitting when you attach the rod holder. Make sure the pilot holes are slightly smaller than the screws you will be using.
After creating the pilot holes, align the rod holder with the markings and secure it in place using screws and a screwdriver. Make sure the rod holder is tightly attached and does not wobble or move when pressure is applied.
Testing and Adjusting
Once the rod holder is installed, it's important to test it before heading out on the water. Insert your fishing rod into the holder and check for any movement or instability. Wiggle the rod to ensure it is securely held in place. If you notice any issues, make the necessary adjustments to ensure a proper fit.
Additionally, it is recommended to test the rod holder while on the water to ensure it can withstand the conditions and movements of your boat or kayak. This will give you peace of mind and prevent any unexpected surprises while fishing.
By following these steps, you can properly install a rod holder on your boat or kayak, enhancing your fishing experience and providing a convenient storage solution for your fishing rod.